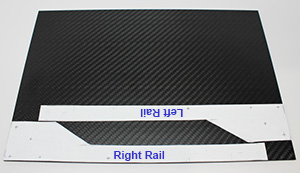
The rails are constructed from carbon fiber plate. Tack glue templates of your rail design and cut using a band or jig saw. Use a metal-cutting blade or a blade designed to cut carbon fiber. Thinner sheets, 1mm, can be cut with heavy-duty scissors.
Always wear eye protection, a particle mask and gloves.
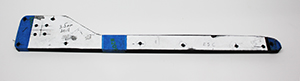
Stack and tape the rails together in preparation for drilling. Drill holes for motor, front axle and aluminum standoffs.
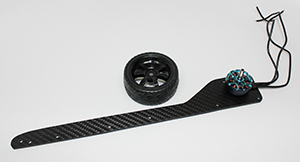
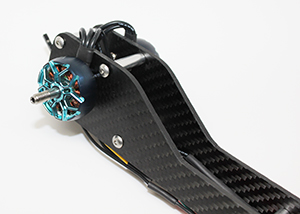
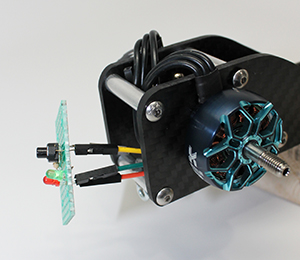
Fit the motor and wheels. Dill the wheel to fit the motor shaft if necessary. An interference fit is best.
Assemble the motors to the rails. The motor bolts will be difficult to access when the rails are assembled
Assemble the ladder frame using the standoffs. Be sure an eye screw, or something that performs a similar function, is attached to the front and rear. These will be used to steer or guide the vehicle. Notice the eye screw in the photo below.
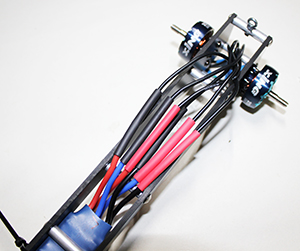
Route the motor wires for connection to the ESC.
Mount the ESCs in the frame and connect the power wires to each motor. All joints should be soldered and insulated with shrink wrap.
A “skid plate” can be made from 1mm carbon fiber plate to protect the wiring.
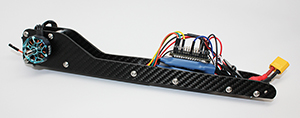
Wire the UI board to the Arduino. The chassis is designed for electrical components to be housed in this rear compartment. Additional user input and output components can be designed for assembly here.
Secure the UI panel with electrical ties. Wire ties are the most used fastener for panels and wires. The ladder frame, if properly designed, accommodated the attachment of skid plates and other accessories with wire ties.

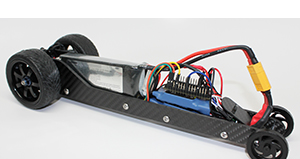
Let's roll. Bolt the rear wheels in place and assemble the front wheels with a 1/8" dia axle. Aluminum or steel should work.
There may be some that question friction on this front axle. Given a steel or aluminum axle spinning in a 3mm carbon fiber hole, axle friction was not an initial design variable. When you get to the point where you need to cut .001 or more seconds to win, go there.
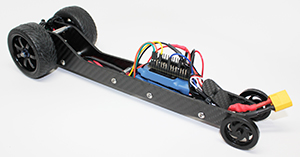
Add the battery pack; you're ready to go racing! Or, begin a field test program to:
- Conduct test runs to see if the vehicle performs as predicted.
- Ensure that the vehicle performs reliably. Fix and problems and potential problems.
- Make coding changes if necessary to eliminate wheel spin and optimize acceleration.
- Log data. Record observations of each trial. Use this data to improve performance and reliability.
NOW, your ready to go racing.
Remember: Go fast, then go faster.